If you’re curious about how to fix chipped paints during an interior house painting in South Elgin, IL, you’re not alone. Even small chips can make a freshly painted wall look neglected, but repairing them doesn’t always mean redoing the entire room. With the correct tools, thorough prep work, and a step-by-step approach, you can restore your wall’s flawless finish.
As an interior house painter, I’ve helped many homeowners who grew tired of trying to hide imperfections. One client admitted they rearranged furniture twice to cover a chip near their front door before finally calling us. Repairs like these can be quick, budget-friendly, and long-lasting when done right.
Key Takeaways
Common Causes of Chipped or Peeling Paint
Before figuring out how to fix chipped walls, it’s helpful to understand why they happen. Frequent culprits include bumping furniture, high humidity levels, skipping prep, applying paint on glossy surfaces, or using overly thick coats.
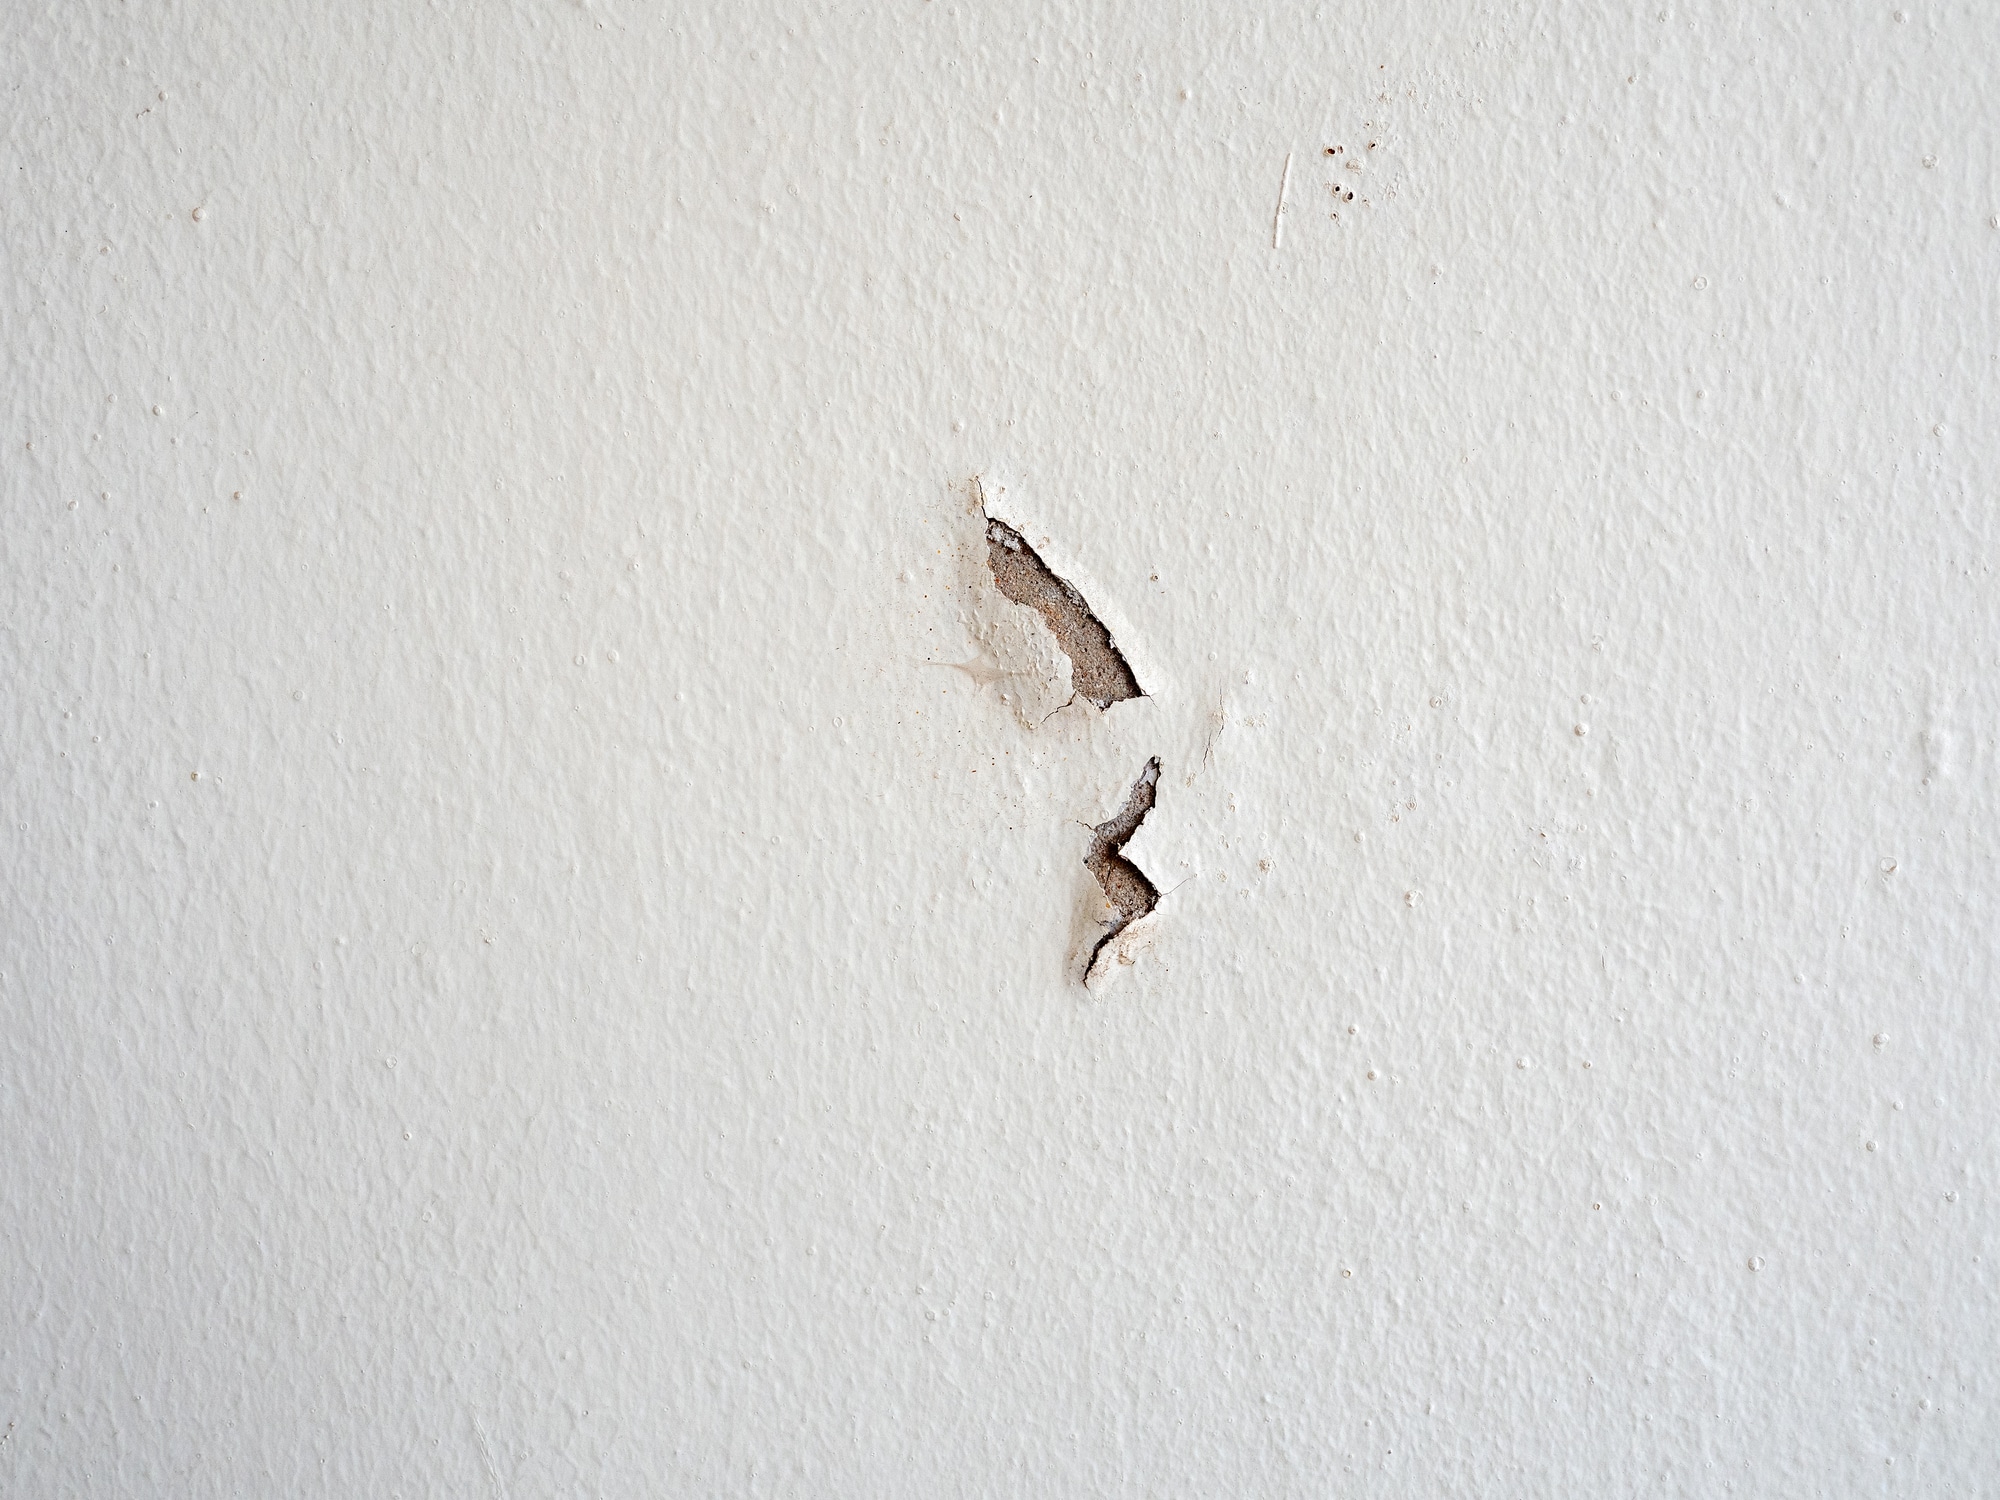
I once repaired a bathroom wall where the paint flaked badly above the shower. Moisture combined with painting over an unprimed glossy finish was the main cause.
Getting Ready for a Lasting Repair
A smooth repair starts with the right preparation. For small chips, lightweight spackle works perfectly. For more significant damage, a drywall joint compound is best. Keep a 2-inch putty knife for applying the filler and a 4-inch knife for leveling it evenly.
Tools and Materials Checklist
How to Fix Chipped Paints
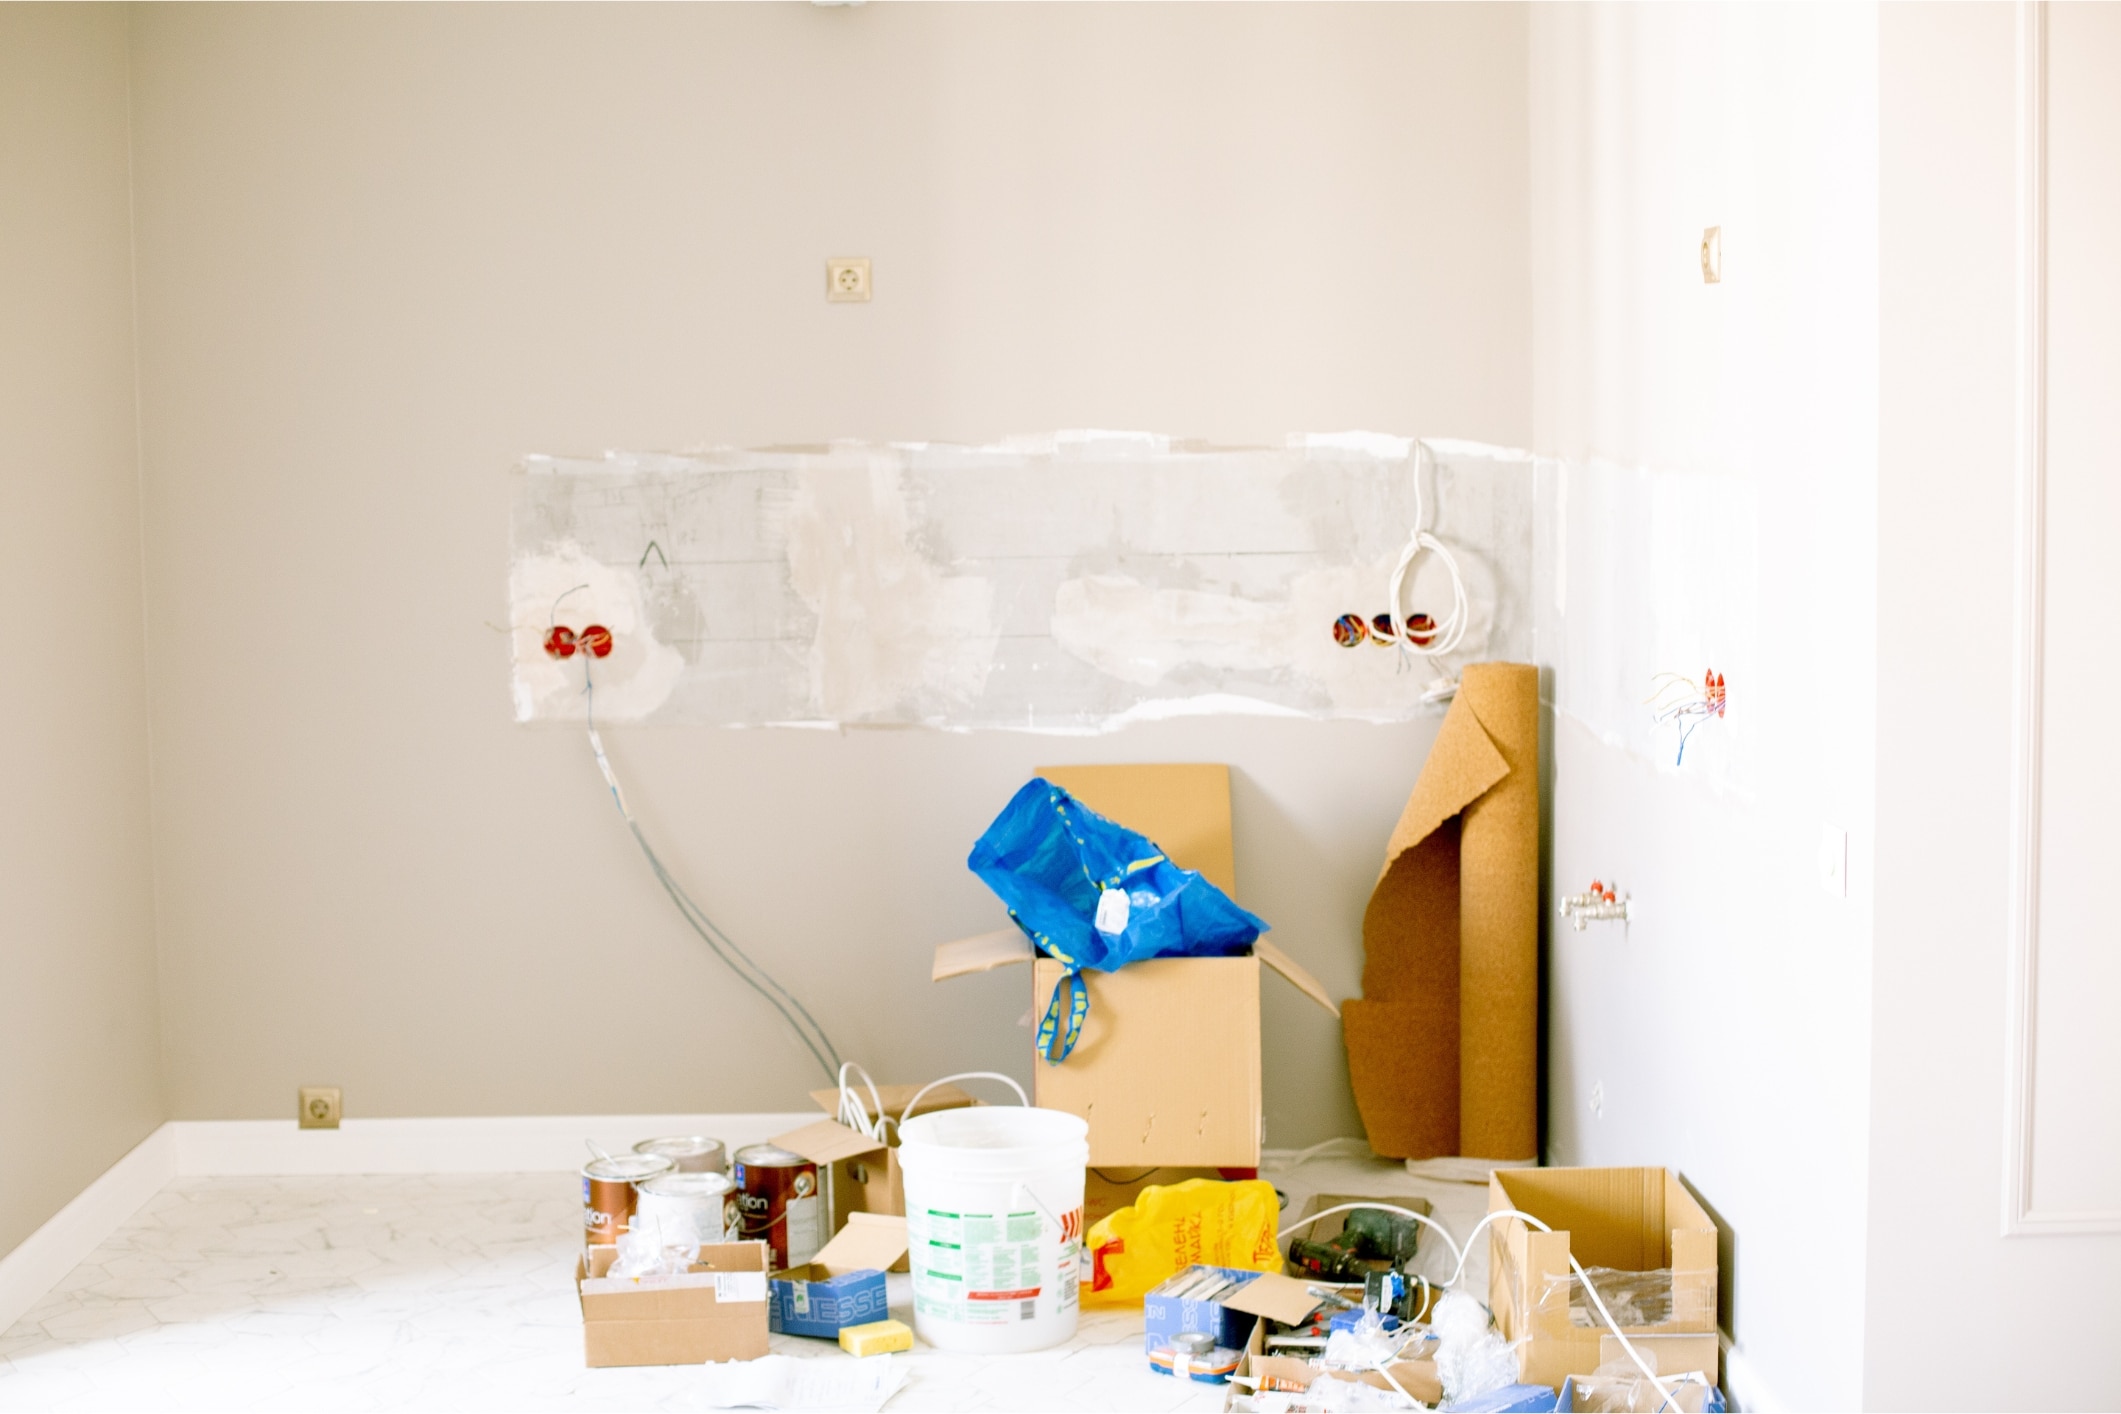
1. Prepare and Protect the Area
Clear the space by moving furniture, artwork, and other items away from the repair zone. Cover the floor with a durable drop cloth and secure it along the baseboards with painter’s tape. This step prevents debris, dust, or paint splatters from damaging your flooring.
2. Remove Any Loose Paint
Scrape away peeling paint gently using a wire brush, working in controlled strokes to avoid enlarging the damaged spot. For stubborn sections, angle a putty knife at 45 degrees and lift slowly with light pressure.
3. Smooth the Surrounding Edges
Use medium-grit sandpaper to feather the edges of the chip into the surrounding paint, creating a soft, even transition. Sand until the surface feels smooth to the touch for a seamless repair.
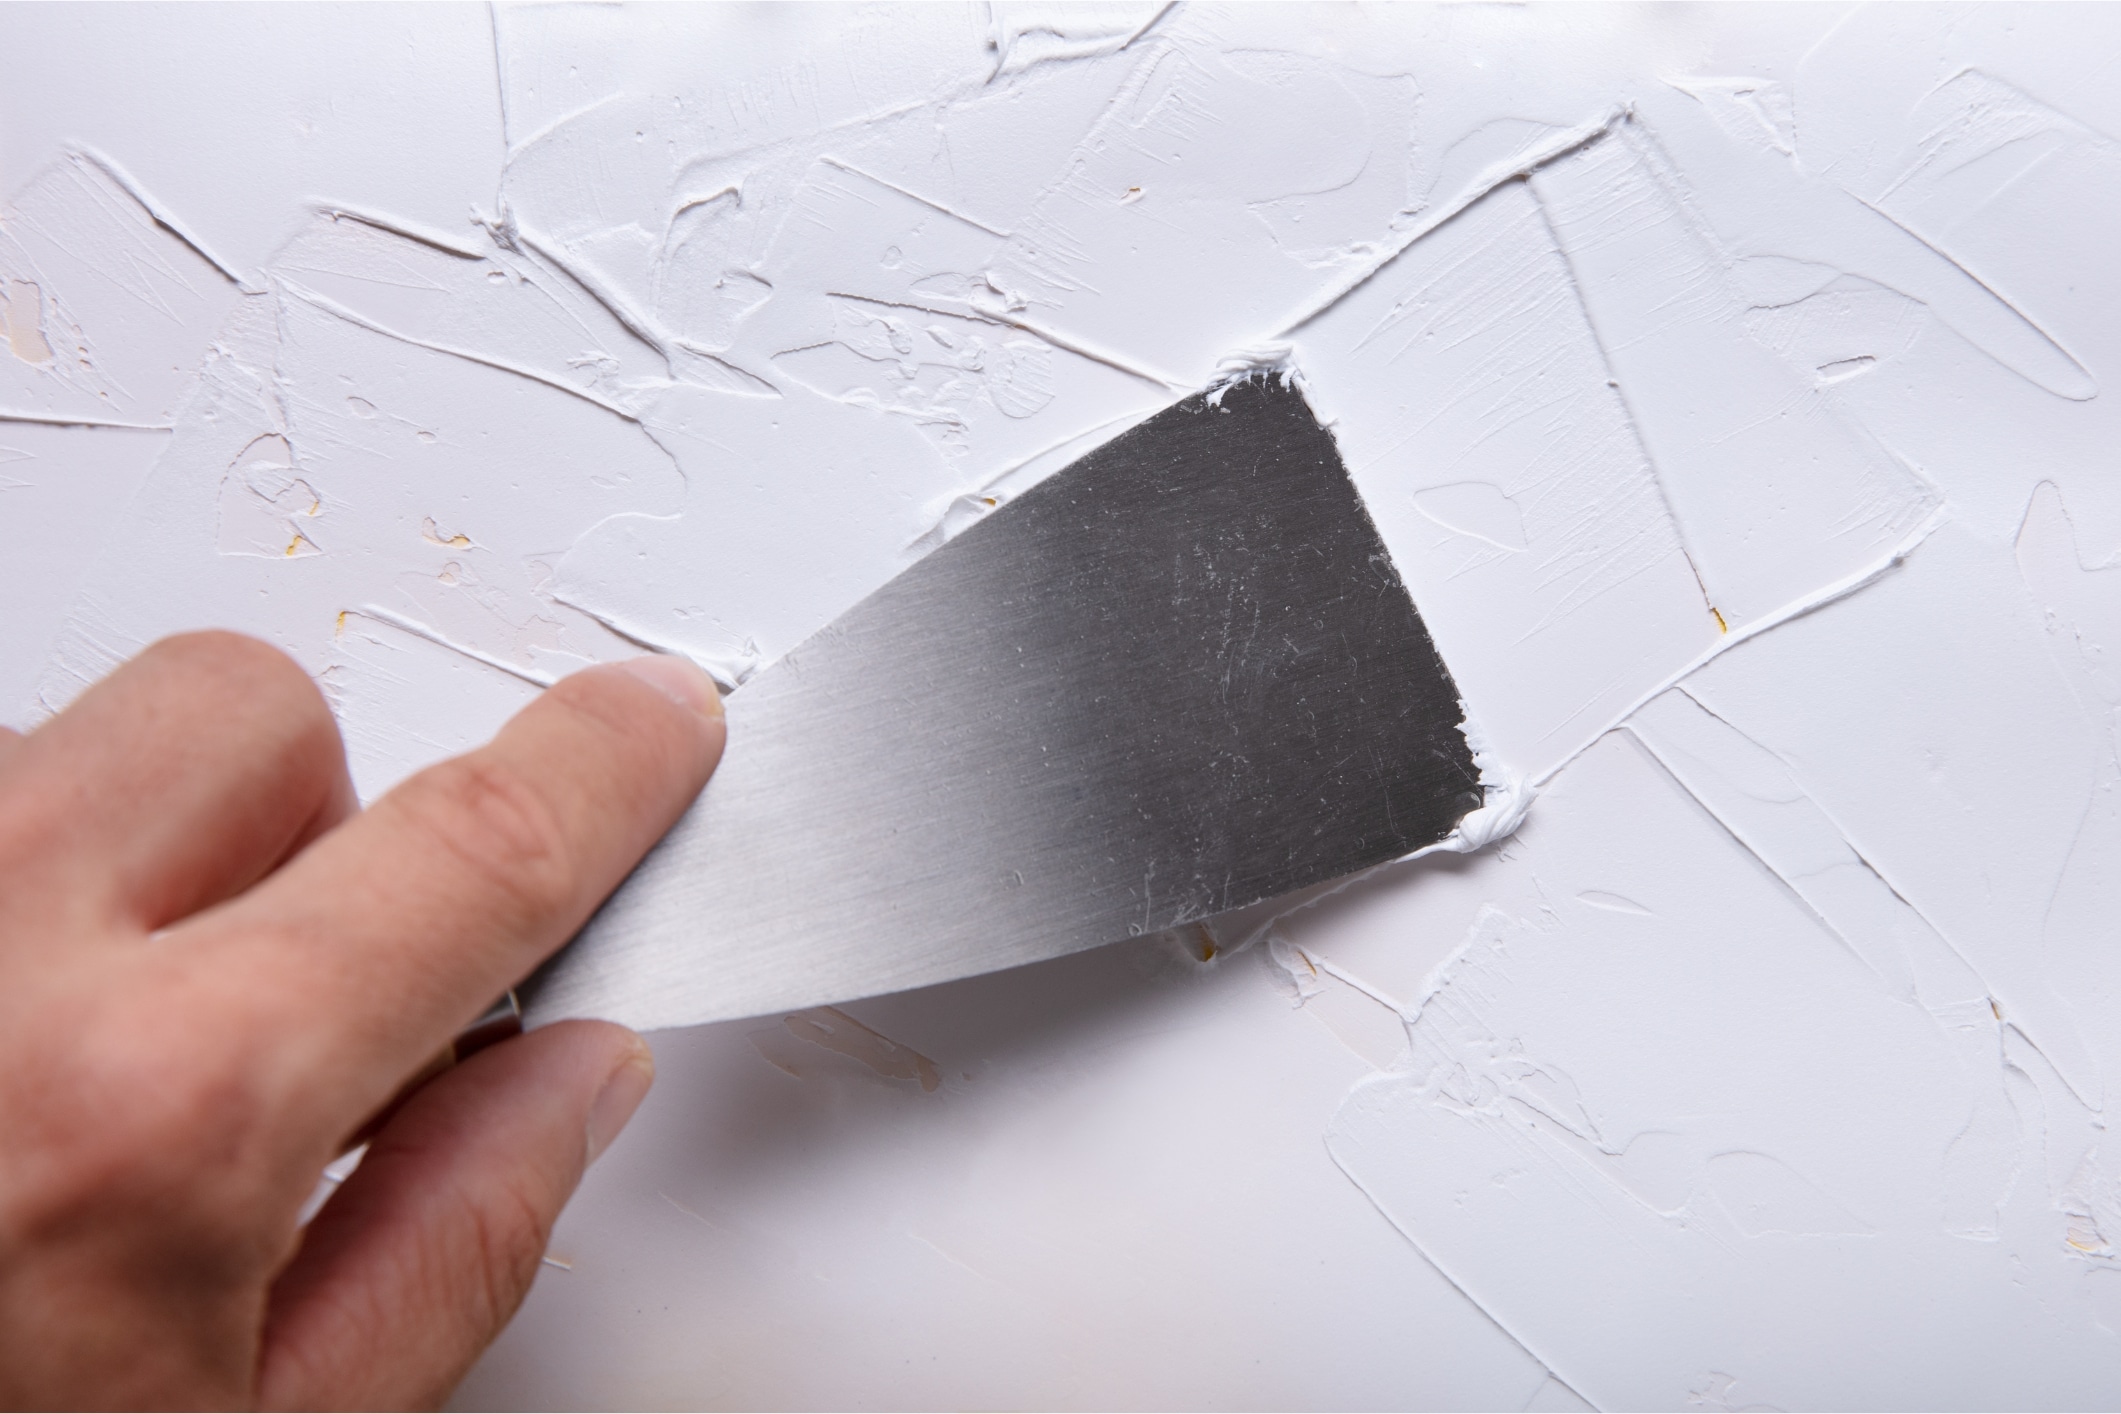
4. Apply the Filler
With your 2-inch knife, press spackle or compound into the damaged spot, making sure it reaches every edge of the chip. Filling it completely helps avoid dips or uneven spots after drying.
5. Even Out the Patch
Use the 4-inch knife to smooth the filler from several directions, holding it flat and steady. Removing excess material now will cut down on sanding later.
6. Let the Patch Dry
Check the product’s drying guidelines — most require at least 30 minutes, but thicker applications or humid rooms may need several hours. Allowing full drying time helps prevent cracks or shrinkage.
7. Sand Until Flush
Once dry, sand with fine-grit paper in light, circular motions until the repaired area is even with the wall. Wipe away dust using a lint-free cloth to prepare for priming.
8. Prime Before Painting
Apply primer over the repair, slightly overlapping the surrounding paint. This step improves adhesion and creates a uniform finish for the topcoat.
9. Paint the Area
With a brush, apply matching paint in light coats, feathering outward into the surrounding area. This softens the transition between the repair and the original paint.
Tips for Preventing Paint Chips
Keeping your paint in good shape starts before you even open a paint can. Here’s how:
For extra defense in busy spaces, consider adding chair rails or wainscoting to protect against scrapes, bumps, and daily wear.
A&A Painting, Inc Can Help
A chipped paint surface can make a room feel tired, but repairing it is simple when you follow the right steps. Whether you choose to do the repair yourself or hire our team, the result can be walls that look freshly painted again.
If chipped walls are affecting your home’s appeal, A&A Painting, Inc can help. We offer interior house painting in South Elgin, Saint Charles, and Batavia, IL. Call 630-874-0072 for a FREE estimate.

We handle the entire process — prep, repair, painting, and cleanup — so you can enjoy flawless walls without the hassle.