If you’ve been wondering how to paint trim during interior house painting in Campton Hills, IL, this guide is for you! A well-executed trim painting project can make a room look fresh and sophisticated.

Whether you’re handling it yourself or looking to hire a professional house painter, understanding the right steps will make the process much smoother and more enjoyable.

Key Insights

  • Preparing the surface correctly is key to getting clean and sharp edges.
  • Choosing the right trim paint ensures long-lasting, professional-quality results.
  • Using high-quality tools like brushes and caulk will save time and avoid mistakes.
  • Taping off areas properly results in cleaner lines and fewer paint splatters.
  • Allowing enough drying time between coats is critical for a smooth finish.

Materials You’ll Need to Paint Trim

Before you begin, it’s important to gather the necessary materials. Here’s a list of tools and supplies to make your interior house painting process easier:

  • 2-inch angled paintbrush: Ideal for precise painting along trim edges.
  • Putty knife: For filling any imperfections in your trim with wood filler.
  • Caulking gun: Necessary to apply caulk around the trim for a polished look.
  • Sanding sponge (100-150 grit): To smooth out rough spots or old paint.
  • Microfiber cloths: For cleaning the trim surfaces before painting.
  • Drop cloths: Protect your floors and furniture from accidental paint spills.
  • Acrylic-latex interior paint: Fast-drying and ideal for trim surfaces.
  • Acrylic-latex caulk: Used to fill gaps between the trim and the wall for a seamless look.
  • Painter’s tape: Helps you create clean, crisp lines around the trim.
  • Wood filler: To smooth out imperfections or holes in the trim.
  • 12-inch masking paper: Protects baseboards or other areas while you work.
  • Trisodium phosphate (TSP): Cleans dirt and grime from the trim before painting.

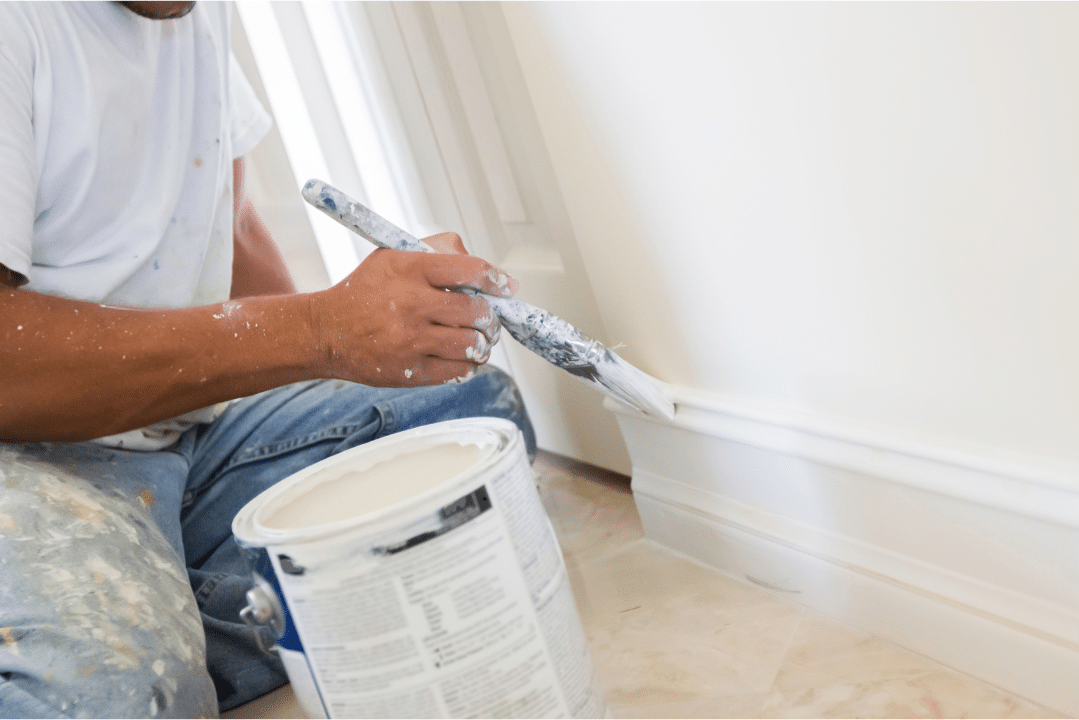
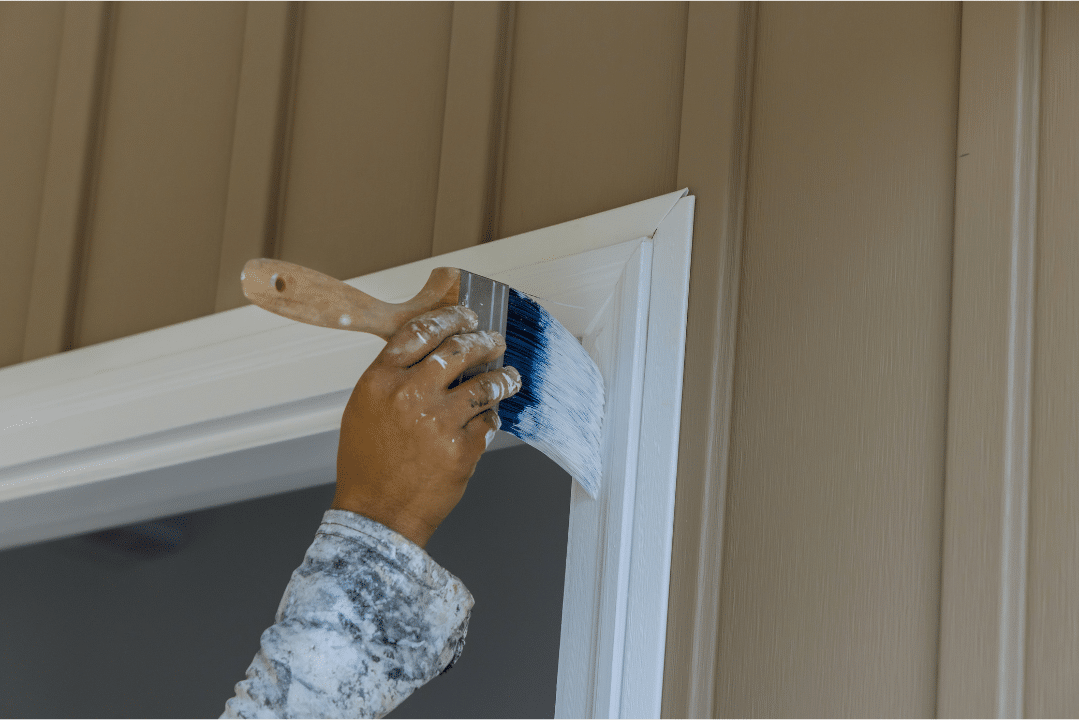
Step-by-Step Guide on How to Paint Trim

Knowing how to paint trim like a professional can drastically improve the overall appearance of a room. Follow this step-by-step guide to achieve the perfect finish.

Pro Tips for a Perfect Trim Painting Project

  • Use a quality angled brush for precise control when painting trim.
  • Don’t overfill the brush. A brush with too much paint can cause drips and uneven coverage.

  • Be patient between coats—let the paint dry thoroughly for a smooth, streak-free finish.
  • Smooth out caulk to ensure a clean finish between trim and walls.
  • Allow adequate drying time between coats to avoid smudging and uneven results.

How to Paint Trim Like a Pro: Why It’s Worth the Time

Getting trim painting right is all about the details. A well-painted trim can make a world of difference in your home, giving it a polished, professional look. Whether you’re doing a quick refresh or tackling an entire room, taking the time to paint the trim properly will pay off in the long run.

However, if you’d rather leave the work to an expert, A&A Painting, Inc. is here to help. They specialize in interior house painting and can make sure your trim is painted perfectly—without the hassle.

Finishing Touches on Your Trim Painting Project

By following the steps above, you can easily achieve a professional-level finish when painting trim. However, if you’re short on time or prefer to leave the task to professionals, A&A Painting, Inc. offers expert services in Campton Hills, IL. They can handle all your interior house painting needs with ease, ensuring you get the results you want.

Call A&A Painting, Inc. today at 630-874-0072 for a FREE estimate. Serving Campton Hills, Geneva, Batavia, and the surrounding areas.