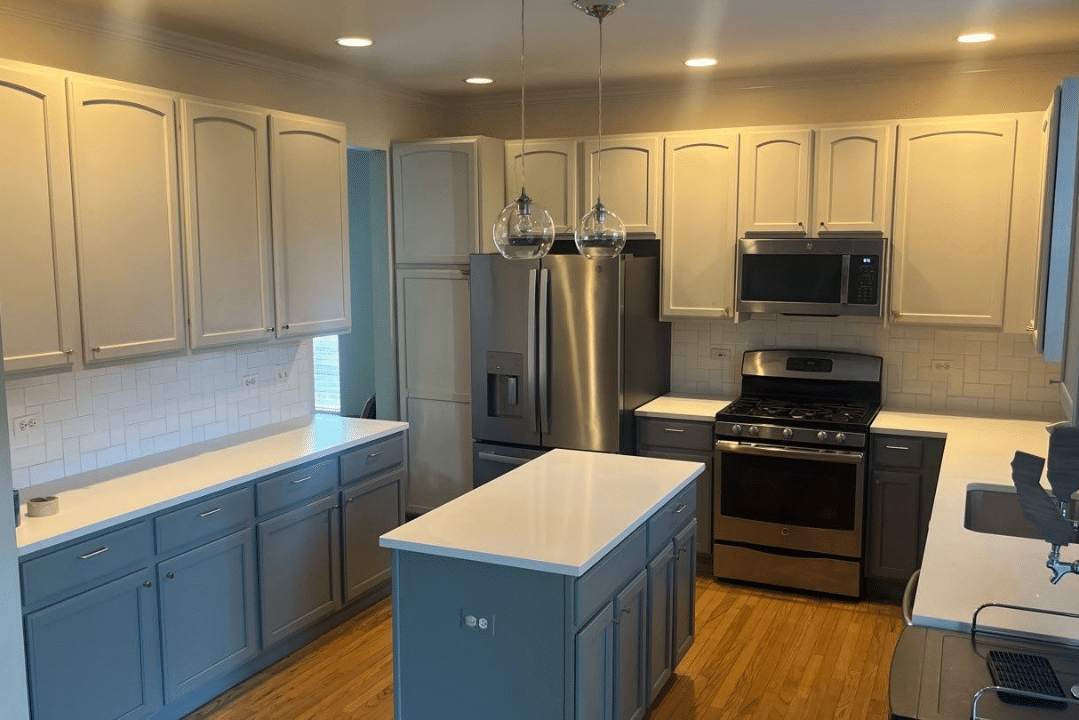
Starting a cabinet painting project at home can feel exciting—and a little intimidating. If you’re tackling cabinet painting in Geneva, IL, you might be wondering where to begin. The answer? It all starts with preparation. One of the most important parts of that prep is sanding. Knowing the right steps for sanding cabinets helps avoid mistakes and gets the finish you’re really after.
As a cabinet painter who’s worked on all types of homes, I can tell you that the sanding process directly affects how great your cabinets will look once they’re painted. Whether your cabinets are decades old or fresh off a showroom floor, the surface needs the right texture for the paint to hold. Sanding helps remove imperfections, dulls the existing finish, and gives you a clean slate. Done right, it’ll save you from chipping paint, uneven finishes, and having to redo the work too soon.
Key Takeaways
Why Proper Sanding Makes a Big Difference
Let’s start with something simple: good prep saves time and money in the long run. I’ve seen homeowners attempt cabinet painting with minimal sanding, hoping the paint will somehow fix imperfections. It won’t. You’ll see every dent, scratch, or gloss patch that didn’t get handled beforehand. Prepping the right way pays off.
Back when I was early in my career, a client wanted a fast turnaround. They thought skipping sanding would speed things up. We had to redo the whole set a few weeks later. Now? I won’t paint a cabinet unless the prep is solid.
Steps for Sanding Cabinets Like a Pro
Step 1: Take Off Cabinet Doors and Hardware
Start fresh. Remove every door, drawer front, and handle. This gives you space to work and helps avoid damaging hinges or pulling paint up when you reattach pieces later.
Label everything clearly—painter’s tape and a marker will do the trick. Put screws and hardware into baggies and tape them inside the cabinet box they came from. Simple, right? But it saves a ton of frustration.
Step 2: Clean Off the Grime
Sanding over grease or gunk? Bad idea. Use a degreaser or TSP (trisodium phosphate) to wipe down every surface. Kitchen cabinets especially hide a mix of oil, dust, and old food splatter that will mess with your sanding.
Wipe them down twice if you have to. Let the surface dry completely before moving on. Damp wood and sandpaper don’t play well together.
Step 3: Repair Dings and Scratches Before Sanding
Now’s the time to fix any gouges, chips, or cracks. Use a good-quality wood filler or spackle depending on how deep the damage is. Once it dries, sand it flush with the surface.
One client in Geneva had cabinets with old staple holes from child locks. We patched them first—and once the painting was done, she couldn’t even remember where they were. That’s how good surface prep should feel.
Step 4: Pick the Right Sandpaper Grit
If you’re going the DIY route, it’s easy to get overwhelmed here. So let me make it simple:
After your first round, follow up with a finer 180- or 220-grit to smooth it out. You’re not sanding to the bare wood—you’re just roughing it enough for the primer or paint to stick.
Step 5: Sand the Frames First (And Carefully)
This is where things get real. If you want a professional look, you’ve got to focus on the cabinet boxes before doors. Why? Because they’re harder to paint cleanly.
Work with the grain and take your time. A sanding sponge or orbital sander will help speed it up, but don’t press too hard. Let the tool do the work.
This is one of those steps for sanding cabinets that often gets rushed. Don’t. These frames will show the most wear over time, so give them the attention they deserve.
Step 6: Tackle the Doors and Drawer Fronts
Lay them flat on a protected surface. Don’t forget the edges and corners—paint loves to drip there if they’re not sanded right.
If your cabinets have raised panels or bevels, use a detail sander or sanding block to get into grooves. Or fold your sandpaper into a triangle and work it gently into creases.
Keep a soft-bristle brush nearby to dust out crevices as you go!
Step 7: Final Sand and Dust Removal
Once everything feels smooth, do one last pass with 220-grit sandpaper. This is your prep for primer or paint.
Next, vacuum every surface thoroughly, and use a tack cloth to grab the fine dust. Paint won’t stick to leftover dust—it’ll just glide right over it. Then you’ll have to repaint. No thanks.
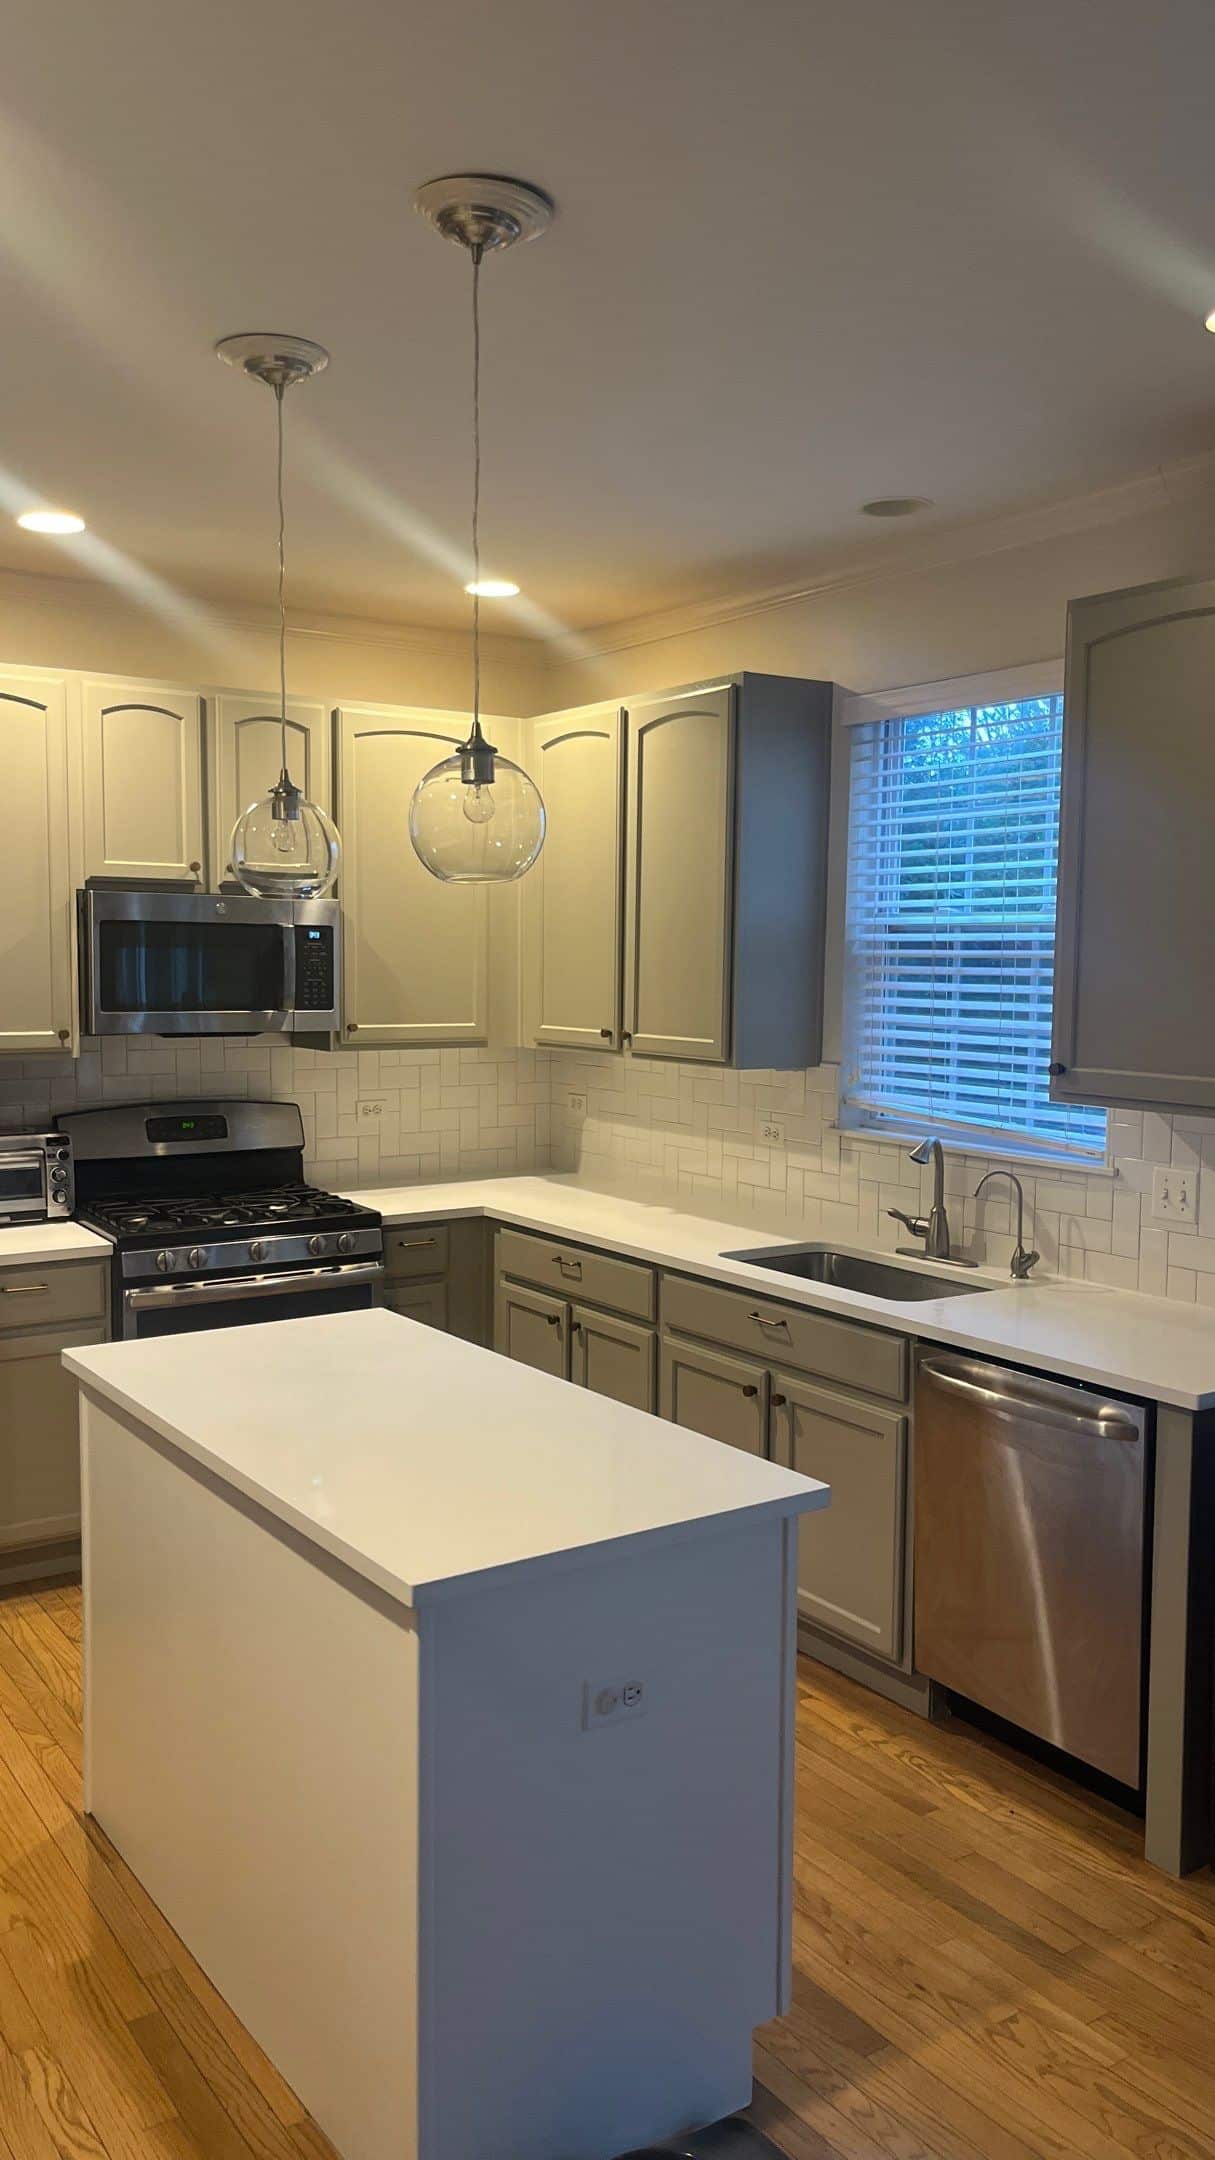
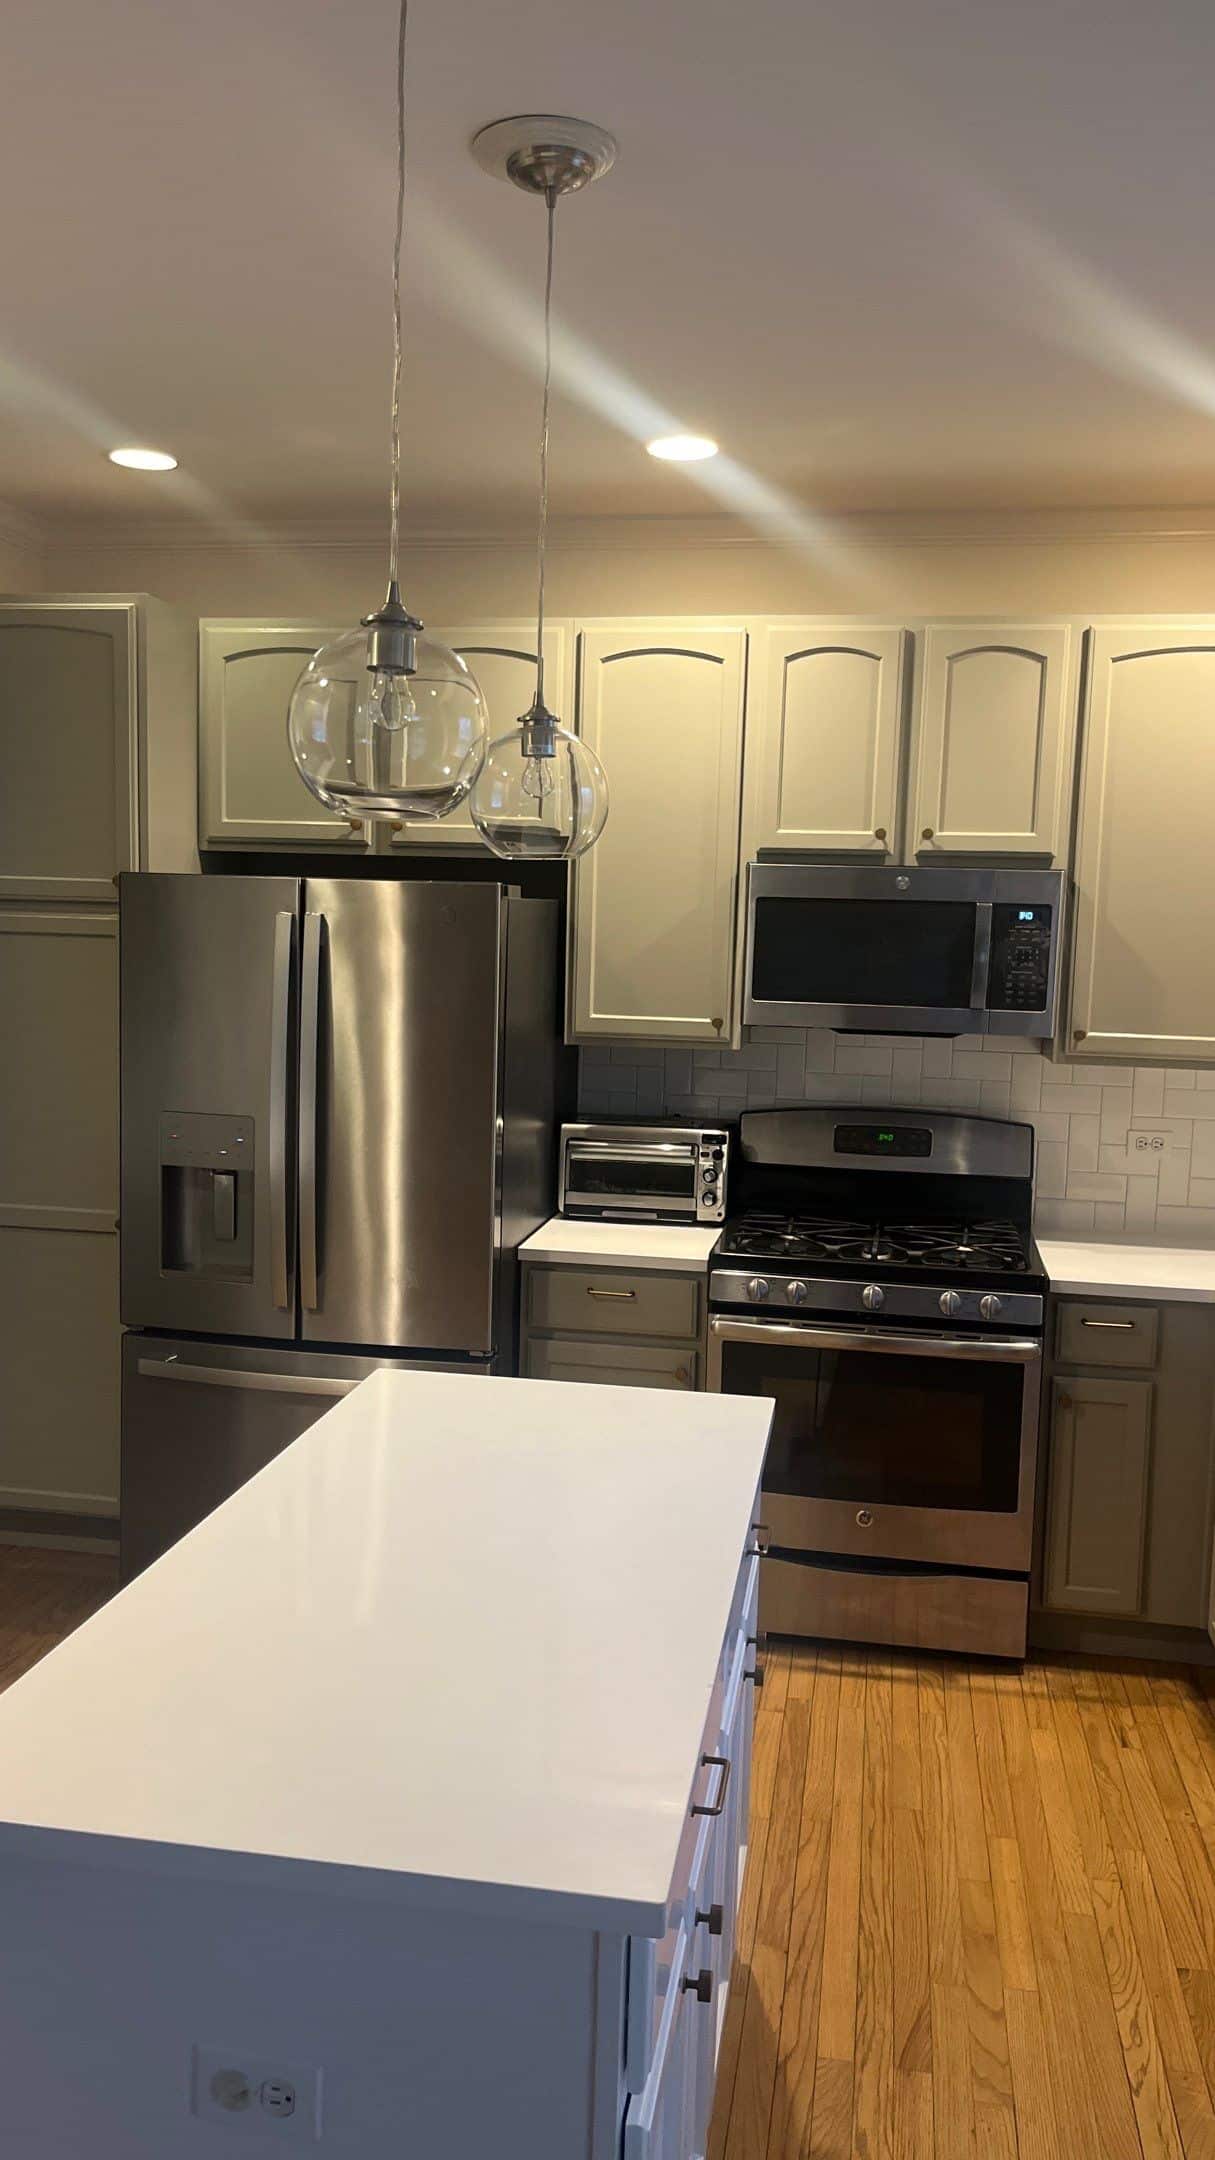
Why Homeowners in Geneva, IL Are Turning to Pros for Cabinet Painting
Now that you know the proper steps for sanding cabinets, you might be thinking: “Can I really do this myself?”
Absolutely! But many homeowners in Geneva tell us the same thing—they simply don’t have the time or tools. And that’s okay. Cabinet painting takes patience, the right materials, and a solid understanding of how finishes behave.
When you hire a professional cabinet painter, you’re not just paying for labor—you’re investing in results that last.
Less mess. Better tools. Faster turnaround. That’s what we bring to the table.
Let A&A Painting, Inc Handle the Hard Part
If you’re in Geneva, Saint Charles, or Batavia, and you’re ready to give your kitchen or bathroom a fresh look, A&A Painting, Inc is ready to help.
We know what it takes to do this right—from the first round of sanding to the final brush stroke. Our professional cabinet painter works clean, communicates clearly, and delivers results that feel like a true upgrade.
Want a FREE estimate? Give us a call at 630-874-0072. We’ll walk you through the steps, talk colors, and set a schedule that fits your life.
Let’s make your cabinets look new again—without the stress.